
Unlocking the potential of residential garages is a rewarding transformation. For decades, these spaces have sheltered vehicles and stored forgotten items. However, beyond the concrete and timber lies valuable real estate. By reclaiming this space, you can create a leisure sanctuary that isolates noise from the main household while offering a world-class media experience.
Creating a multi-purpose entertainment retreat with a cinematic viewing area, gaming lounge, and hospitality space requires a strategic approach. A luxury conversion demands attention to building envelope sealing, moisture remediation, structural leveling, climate control, audiovisual architecture, and interior finishing. By following a roadmap, you can ensure that your digital sanctuary is as robust as the technology itself. This guide walks you through the steps to transform a utilitarian shell into a comfortable, technologically advanced leisure destination.
Seal Foundation Walls to Halt Subterranean Vapor Drive

A primary concern in ground-level structures is the upward and inward movement of moisture. Because garage foundation walls and floors are in direct contact with the earth, they are prone to hydrostatic pressure and capillary action. Masonry block is porous, acting like a sponge that draws subterranean moisture into the interior. To assess the issue’s severity, perform calcium chloride or plastic-sheet moisture tests on the lower walls and slab edges.
If moisture transmission is detected, address ground seepage and perimeter capillary action before building timber stud framing. Specialized waterproofing companies can effectively excavate the exterior perimeter to apply elastomeric membranes or install French drain systems connected to a sump pump.
To fully seal the lower envelope, consider these critical interventions:
- Inject dynamic settling cracks with expanding polyurethane resin, which fills microscopic voids and cures into a flexible, watertight barrier that shifts naturally with the foundation.
- Coat uninsulated cinder blocks with crystalline slurry treatments that penetrate the concrete matrix, permanently blocking moisture from reaching sensitive electronic media gear.
- Implement a rigorous perimeter drainage strategy outside the building, ensuring that gutters and downspouts are actively diverting heavy rainwater well away from the foundation line.
- Install a heavy-duty poly-vapor barrier directly against the masonry before erecting your interior framing, ensuring that any residual condensation remains trapped behind the wall cavity and away from your drywall.
Overhaul Overhead Sheathing and Flashing to Stop Persistent Leaks
Once ground-level moisture is controlled, focus on the overhead structure. A slow roof leak that might go unnoticed in a dusty storage space will cause catastrophic damage to expensive projectors, acoustic paneling, and delicate electronics. Inspect the rafters, truss anchors, and roof valleys above the ceiling joists.
Engaging qualified roofing contractors is crucial. They can evaluate the roof’s structural integrity, replace compromised wood decking, and update aluminum flashing around vents and chimneys. Additionally, they can assess the structural load capacity to ensure overhead trusses support the weight of acoustic baffles, ceiling-mounted projectors, or motorized screens without sagging over time.
Key overhead structural improvements should include:
- Applying self-adhering ice-and-water underlayment along the eaves and roof valleys to prevent ice dams from forcing meltwater under the shingles during harsh winter freezes.
- Upgrading soffit and ridge vents to guarantee proper airflow through the attic space above the ceiling, which prevents the buildup of humid air that can lead to hazardous black mold.
- Reinforcing the bottom chords of the roof trusses with additional timber blocking to provide secure, vibration-free mounting points for heavy home theater hardware.
Re-Grade Drainage Slopes and Patch Structural Cracks
Addressing the engineered slope requires a combination of structural remediation and precise material application. The goal is to achieve a true, zero-tolerance flat surface that feels like a poured basement floor. Over years of freeze-thaw cycles, a concrete slab can develop settling cracks or experience heaving along its expansion joints.
Working with experienced concrete companies is necessary to correct these issues. Specialists use diamond grinders to shave down heaved joints and raised imperfections. Once the highest points are reduced, they establish a level perimeter and pour a high-strength, self-leveling cementitious underlayment, permanently eliminating the slope.
Crucial steps in the slab leveling process include:
- Raking out all loose debris from existing expansion joints and filling them with a specialized polyurea joint filler that accommodates minor tectonic shifting without transferring cracks to the surface.
- Applying a bonding primer over the old, oil-stained concrete to ensure the new self-leveling compound adheres perfectly without delaminating or peeling under heavy weight.
- Utilizing laser-guided screeds during the pouring phase to guarantee that the newly established floor meets strict commercial flatness tolerances, providing a flawless foundation for the room.
Apply Multi-Layer Protective Resins for Everyday Durability

With a perfectly flat subfloor established, selecting the right finishing material is paramount. Standard plush carpeting is a poor choice for a ground-level concrete slab; it traps residual vapor emissions, leading to musty odors, and is vulnerable to spilled beverages during intense sporting events or movie nights. You need a robust, seamless finish suited for high foot traffic, heavy rolling gaming chairs, and rapid temperature swings.
The most resilient and aesthetically pleasing solution is a premium garage floor coating applied in multiple layers. This process requires mechanically profiling the concrete through shot blasting or diamond grinding to open the pores, rather than relying on weak acid etching. An industrial-grade polyurea or epoxy base is then rolled out, accented with vinyl flake blends, and finally topped with a UV-stable, non-yellowing polyaspartic clear coat.
The advantages of this protective resin application include:
- Total imperviousness to liquid spills, allowing sticky sodas, melted ice cream, or dropped cocktails to be wiped away effortlessly with a damp microfiber mop.
- Exceptional abrasion resistance that prevents caster wheels on office chairs, heavy subwoofer enclosures, and moving foot traffic from scratching or dulling the floor’s surface.
- A visually striking, modern aesthetic that reflects ambient LED baseboard lighting, elevating the perceived luxury of the room while maintaining industrial-grade toughness.
Size Independent Zone Climate Equipment for Heavy Electronic Heat Loads
Calculating the thermal requirements for a media room requires more than just measuring square footage. You must factor in the heat load generated by AV receivers, multi-channel amplifiers, gaming consoles, and packed human bodies during a watch party. Connecting this room to the home’s existing central air system is often a mistake; it rarely has the capacity required, and shared ductwork transmits loud movie explosions into quiet bedrooms.
The most effective solution is an independent hvac installation featuring a ductless mini-split heat pump system. These units have high SEER2 efficiency ratings and provide rapid, localized temperature adjustments independent of the main house thermostat. When designing this system, position the internal wall cassettes strategically to avoid blowing chilled air across projection light paths or interfering with sensitive microphones for online gaming.
To ensure maximum thermal comfort and system efficiency:
- Specify multi-zone inverter compressors that spool up and down gradually, ensuring whisper-quiet operation that will not ruin the audio dynamics of quiet, suspenseful cinematic scenes.
- Install high-density closed-cell spray foam insulation in all perimeter stud cavities to lock in the conditioned air and dramatically increase the R-value of the exterior walls.
- Incorporate a dedicated dehumidification unit into the air handler to prevent the cool, conditioned air from causing condensation on the warm, internal components of your expensive electronics.
Upgrade Exterior Infill Openings with Acoustic-Grade Glazing
Controlling the environment means managing natural light and exterior noise. The original, uninsulated sectional doors must be replaced with a heavily insulated, framed wall infill. If your design retains side windows for natural daylight, those existing single-pane sashes must be discarded.
You will need to consult a specialized window supplier for sound-dampening architectural glass. Dual-pane or triple-pane argon-filled units with high STC (Sound Transmission Class) ratings are mandatory. These units use asymmetrical glass thicknesses and laminated inner layers to prevent noise from disrupting dialogue clarity.
Effective strategies for managing these glazed openings include:
- Installing motorized, automated blackout track systems that integrate directly into the window jambs, allowing you to instantly plunge the room into total darkness to eliminate screen glare.
- Applying secondary UV-rejecting window films to the interior glass panes to prevent harsh afternoon sunlight from bleaching the dyes in your expensive upholstery and carpets.
- Sealing the rough openings around the new frames with specialized acoustic caulking rather than standard expanding foam, ensuring no microscopic air gaps allow high-frequency sound to escape.
Map Out Dedicated Audio Conduits and Projector Throw Lines
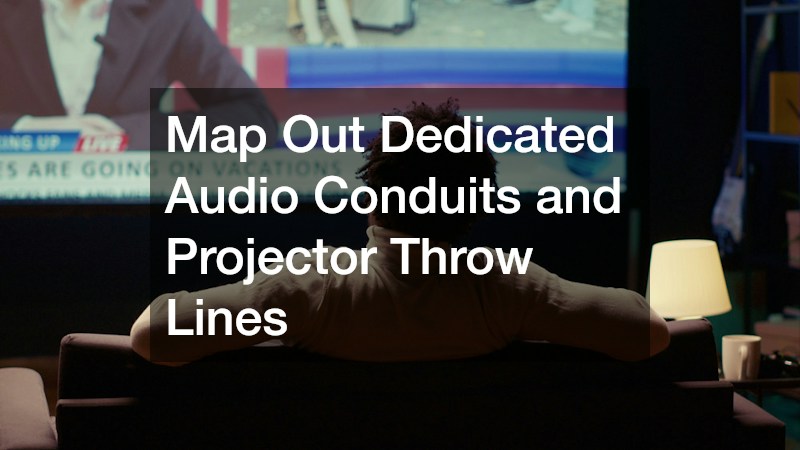
The architecture of a high-end surround sound system is complex. You must plan your spatial speaker arrays, low-voltage wiring paths, and display hardware locations while the wall studs are exposed. Fishing high-bandwidth HDMI cables through finished, insulated walls is frustrating and destructive.
For a balanced Dolby Atmos speaker geometry, such as a 7.2.4 layout, custom home theater services are recommended. Integrators calculate projector focal distances to ensure the lens fills your screen without distortion. They run all in-wall, CL2/CL3-rated wiring through dedicated PVC conduits, separating audio runs from electrical lines to avoid interference.
Essential technological preparations include:
- Wiring dedicated 20-amp electrical circuits directly to the equipment rack, ensuring high-draw multi-channel amplifiers have the clean, uninterrupted peak power required for massive dynamic audio swings.
- Installing structural plywood backing between the wall studs wherever heavy televisions, motorized projector mounts, or articulating screen hinges will eventually be bolted.
- Constructing decoupled sub-bass isolation platforms that rest on specialized rubber dampeners, preventing massive, low-frequency sound waves from vibrating the physical building framing.
Finish Wall Surfaces with Glare-Absorbing, Matte Palettes
The ambience of a media space is just as critical as the hardware. Standard residential finishing techniques can harm a projected image. Glossy, light-colored walls reflect light back onto the screen, reducing black levels and visual contrast ratio.
To enhance screen depth, select deep, non-reflective wall coatings. Task lighting and screen splashes can highlight wall imperfections, so hire a meticulous painting contractor to prep the drywall to a flawless Level 5 finish. This involves applying a skim coat of joint compound over the wall surface, sanding it smooth, and eliminating tape seams and screw dimples.
To achieve the ultimate cinematic environment:
- Apply premium, ultra-flat or matte finishes in dark, moody tones such as charcoal gray, deep navy blue, or rich moss green to act as a sponge for ambient light.
- Paint the ceiling in an absolute flat black or dark gray to completely eliminate the distracting ceiling reflections that commonly ruin the overhead projector light path.
- Integrate low-sheen, satin clear coats only along the high-contact baseboard trim to balance everyday scuff resistance with the necessity of maintaining a dark, distraction-free peripheral vision zone.
Integrate Ventilated Built-In Millwork to Conceal Wiring and Consoles
Exposed tangles of power cords, blinking internet routers, and stacks of video game cases can quickly ruin the sleek aesthetic of your new room. Purpose-built storage is required to house media consoles, high-heat amplifiers, and assorted gaming accessories cleanly out of sight while maintaining remote-control functionality.
Working with bespoke cabinet companies allows you to design custom built-in entertainment units that run the length of the viewing wall. These units can be engineered specifically for technology, featuring extra-deep shelves, removable rear panels for wire management, and active fan-assisted ventilation to pull cool air in and push hot air out, preventing thermal throttling of your hardware.
High-end custom millwork should include:
- Acoustic fabric door inserts that hide the electronic components from view while allowing infrared remote signals and center-channel speaker audio to pass through unhindered.
- Integrated wet-bar credenzas featuring durable quartz countertops, perfect for mixing drinks or preparing snacks without worrying about staining the furniture.
- Hidden pull-out recycling compartments, integrated mini-fridge nooks, and sliding drawer microwave stations to create a fully autonomous hospitality zone that limits disruptive trips to the main kitchen.
Arrange Tiered Ergonomic Seating to Preserve Sightlines and Walkways
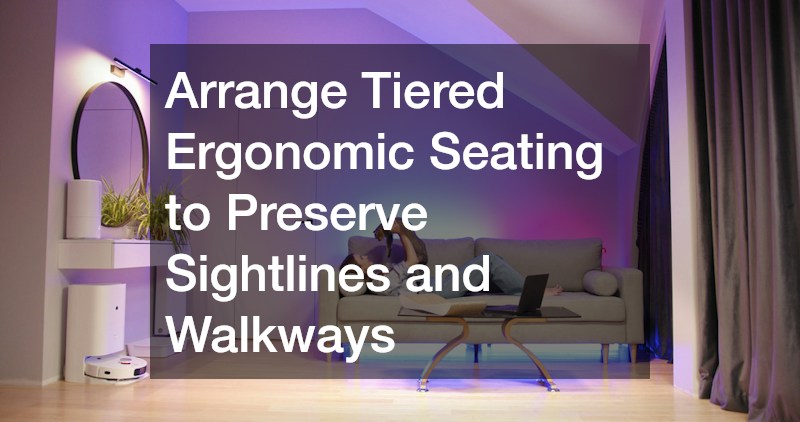
Zoning the floor plan is key to a multi-purpose layout. The space should be divided into cinematic seating facing the main screen, peripheral gaming stations, and hospitality zones near the bar. Carefully manage viewing angles and traffic flow to execute this properly.
The cornerstone of the viewing zone is the furniture. Source commercial-grade performance fabrics or top-grain leathers for three-hour viewing sessions. Power-reclining theater seating with adjustable lumbar support, integrated USB ports, and hidden bass transducers offer a massive upgrade over a standard couch.
To finalize the spatial arrangement:
- Construct a low-profile, carpeted rear riser platform stuffed with acoustic insulation to give the second row of seating clear, unobstructed sightlines over the front-row headrests.
- Incorporate modular, deep-seated pit sectionals in the secondary gaming zones, allowing guests to rearrange the layout for collaborative board games or relaxed, casual conversation.
- Ensure that all primary entry pathways, emergency exits, and routes to the wet bar remain completely unobstructed, utilizing low-level, dimmable LED stair-nose lighting to guide guests safely in the dark.
Transforming a utilitarian shell into a luxury media retreat is a complex project that requires adherence to a timeline: securing permits and sealing the exterior first, followed by installing rough mechanicals and wiring, then moving to interior carpentry, and concluding with audiovisual technology deployment. Proper budget allocation is critical. Spending on massive screens and speakers while ignoring infrastructure like moisture barriers and insulation can undermine performance. Balancing structural integrity with aesthetic luxury ensures success. A dedicated entertainment zone raises your property’s market appeal and square footage while keeping living spaces serene and undisturbed.